watching movie

How to Install MovieBox Onto PC

MovieBox has built attention as a video streaming application that removes subscription walls. Many users, and probably you, look for a way for moviebox download pc because mobile screens feel cramped for long sessions. Larger displays offer better decoding stability and audio handling. Before talking about the installation, the software itself needs a clear technical breakdown. The app appeals to users who value access speed over platform loyalty. That technical focus explains its steady popularity. One thing to note here is that this app can’t be directly installed on a PC since it’s an Android app. So you need an Android simulator. Here’s everything to know about it.

What MovieBox Offers as a Streaming Platform

MovieBox provides access to movies and TV shows without monthly fees. Content streams directly through the app, relying on hosted media sources. The interface focuses on playback speed and minimal buffering. That approach keeps hardware demands low. It avoids heavy animations that slow older devices. The app organizes content through simple indexing rather than heavy graphics. This reduces load on memory and processors. Search functions operate quickly even on modest devices. For users, it feels lightweight and efficient. Categories load fast without background clutter. That efficiency matters during extended viewing sessions.

Technical Structure Behind MovieBox Performance

app performance

MovieBox uses adaptive streaming to adjust video quality automatically. Resolution changes respond to bandwidth conditions in real time. This keeps playback steady during network drops. Fewer interruptions mean fewer crashes. Streams remain watchable even on unstable connections. Caching also plays a role. Small data chunks are stored locally during playback. This limits repeated server requests. As a result, streams resume faster after pauses. Buffer refill time stays short. Users notice smoother transitions during seeking.

Device Compatibility and System Constraints

MovieBox runs primarily on Android environments. There is no native Windows or macOS release available. Desktop users face a compatibility wall at first glance. Touch-based design also limits direct PC interaction. Mouse input is not supported by default. Screen scaling also differs across devices. Emulation solves this gap cleanly. Android emulators replicate mobile system calls on desktop hardware. Apps behave as if running on a phone. Screen size and keyboard control become bonuses. CPU and RAM allocation can be adjusted. This gives users more control over performance.

Security and Usage Considerations

MovieBox does not require account creation to function. This reduces data collection points. Users stream content without profile syncing. That structure limits background processes. Fewer permissions are requested at runtime. This keeps system activity predictable. Updates roll out through app packages rather than forced patches. Users control when changes occur. This avoids surprise interface shifts. Stability remains predictable over time. Older versions often remain usable. That flexibility appeals to cautious users.

How to Install MovieBox on PC Using BlueStacks

BlueStacks allows Android apps to operate inside a desktop window. After installing the emulator, users open its built-in app store. MovieBox installs like any other Android application. The process feels familiar. No command-line steps are involved. Setup stays beginner-friendly. Once launched, mouse clicks replace touch input. Playback controls map cleanly to standard PC interaction. Video scaling works well on larger monitors. This setup keeps the app functional without altering its core behavior. Audio output integrates with system settings. Full-screen playback feels stable.

MovieBox focuses on access efficiency rather than visual excess. Its technical choices favor speed, compatibility, and low overhead. Running it on a PC removes screen limits without adding complexity. For many users, that balance hits the sweet spot. It feels practical rather than flashy. That practicality explains its continued use.…

gamer

How to Install Brawl Stars on PC

Are you ready to take your Brawl Stars experience to the next level? Imagine diving into intense battles, strategizing with friends, and mastering your favorite brawlers—all from the comfort of your PC. Whether you’re a seasoned player looking for an edge or a newcomer eager to join the fray on a bigger screen, we’ve got you covered. In this blog post, we’ll walk you through installing Brawl Stars on your computer. Get ready to unleash chaos in style as we transform your gaming setup and elevate those epic 3v3 showdowns. Let’s jump right in and make that dream of brawl stars download for pc a reality.

Why Play Brawl Stars on PC?

Before we get into the nitty-gritty of installation, let’s talk about why you might want to play Brawl Stars on your PC in the first place. There are several reasons why someone might prefer to play Brawl Stars on PC rather than on their mobile device:

Better Graphics and Performance

PC

One of the most significant advantages of playing games on a PC is using better graphics and performance capabilities. While Brawl Stars is a relatively simple game in terms of graphics, playing it on a PC can enhance the overall visual experience.

Additionally, some older or budget smartphones may not have the necessary hardware to run Brawl Stars smoothly, leading to lag or crashes during gameplay. Playing on a PC can eliminate these issues and provide a smoother gaming experience.

Easier Controls

Playing games on a mobile device often means using touch controls, which can be imprecise and cumbersome for certain games. With a PC, you can access a keyboard and mouse, making controlling your character in Brawl Stars much easier and more accurate.

More Screen Space

The small screen size of mobile devices sometimes makes it difficult to see all the action happening in a fast-paced game like Brawl Stars. Playing on a larger computer screen can give you more visibility and make tracking everything in the game easier.

Multi-Instance Functionality

By playing Brawl Stars on PC, you can take advantage of multi-instance functionality, allowing you to run multiple instances of the game simultaneously. This means you can play with multiple accounts or switch between different games without logging in and out constantly.

How to Install Brawl Stars on PC Using BlueStacks

Now that you’re convinced let’s get to the fun part: installing Brawl Stars on your PC. The process is straightforward, and with BlueStacks, you’ll be ready to brawl quickly.

Step 1: Download and Install BlueStacks

First, you’ll need to download the BlueStacks Android emulator. Go to the BlueStacks official website and click on the download button. Once the installer file is downloaded, open it and follow the on-screen instructions to install BlueStacks on your PC. The process should only take a few minutes.

Step 2: Set Up BlueStacks

After installation, launch BlueStacks. You’ll be prompted to sign in with your Google account. This is necessary to access the Google Play Store. If you don’t have a Google account, you can create one during this step.

Step 3: Download Brawl Stars

Once you’re in BlueStacks, open the Google Play Store (the icon is on the home screen). Use the search bar to look for “Brawl Stars.” When you see the game, click “Install,” and BlueStacks will take care of the rest, just as it would on an Android device.

Step 4: Start Playing

After the installation, you can find Brawl Stars in the “My Games” tab on BlueStacks. Click the icon to launch the game and start brawling.

Tips for Optimizing Your Gameplay on PC

gamer

While you can jump straight into the game, a few tweaks can make your experience even better:

Adjust the Controls: BlueStacks allows you to customize the controls to suit your playing style. You can map different keys to different in-game actions, making the gameplay smoother and more intuitive.

Maximize Performance: Go …

boomplay

How to Run Boomplay on PC

Are you a music lover looking for the ultimate platform to explore and enjoy your favorite tunes? Boomplay is an app you’re looking for. This music streaming and downloading app is popular among music lovers across the world. Launched in 2015, this app has reached millions of active users from over 47 countries.

It’s available for both Android and iOS devices, and you can also use it on your PC if you have an emulator. In this post, we’ll show you how to run Boomplay on a PC using the MemuPlay emulator. But what makes it so popular? And how to run Boomplay on PC using the MemuPlay emulator? Let’s delve into it.

Vast Music Library

Vast Music Library

When it comes to music streaming platforms, having access to a vast library of cultural and international songs is crucial. And that’s where Boomplay truly shines. With over 50 million tracks from various genres and artists, you’ll never run out of options for your listening pleasure.

Whether you’re into the latest chart-toppers or prefer diving into the depths of underground indie music, Boomplay has got you covered. From international hits to local African gems, this platform offers a super wide collection that caters to all musical tastes.

Offline Music Playback

Offline music playback comes in handy in situations where you are traveling or in areas with poor network coverage. It allows you to enjoy uninterrupted music without worrying about buffering or data usage. Whether you’re on a long flight, a road trip, or simply out and about without access to Wi-Fi, Boomplay’s offline mode ensures that your favorite tunes are always at your fingertips.

AI-Powered African Music Recommendations and Discovery

One of the standout features that set Boomplay apart from other music streaming platforms is its AI-powered African music recommendations and discovery. With a vast library of over 60 million songs, finding new music can sometimes feel overwhelming. But thanks to Boomplay’s intelligent algorithms, discovering your next favorite track has never been easier.

Using advanced machine learning technology, Boomplay analyzes your listening habits, music tastes, and preferences to curate highly personalized playlists tailored specifically to you. Whether you’re into Afrobeat, Highlife, or Hip Hop, the app learns what you like and suggests similar artists and tracks for your enjoyment.

But it doesn’t stop there. Boomplay also showcases trending African music in real-time so you can always stay updated with the hottest hits on the continent. From chart-topping Nigerian artists like Burna Boy and Wizkid to rising stars from Ghana, Kenya, South Africa, and beyond – Boomplay ensures that you never miss out on the hottest tracks making waves in Africa’s vibrant music scene.

Data Management

Data Management is a crucial aspect of any music streaming platform, and Boomplay understands this well. With its robust data management features, Boomplay allows users to have control over their personal information and usage data.

Through the app’s data analytics tools, users can track their most played songs, genres, and artists. This helps them discover new music based on their own interests while also allowing them to curate personalized playlists.

Additionally, Boomplay offers privacy settings that enable users to choose what information they want to share with others or keep private. Users can manage their profile visibility, control who can see their activity feeds, and even adjust notification preferences according to their liking.

How to Run Boomplay on PC

laptop

Now, let’s learn about Boomplay download for PC. To get started, first download and install MemuPlay on your PC. Once installed, give the emulator a click to launch it. Then, log in with your Google details. From there, access the Google Play Store within MemuPlay and search for “Boomplay.” Click on the app icon and hit “Install” to begin downloading it onto your virtual Android device.

Once Boomplay is installed, simply launch it from within MemuPlay and log in with your existing Boomplay account or create a new one if …

laptop

How to Get V380 Pro on PC

Are you tired of using the limited features of your security camera app on your mobile device? It’s no wonder all of us want to have a better and more convenient viewing experience on our PC. If so, download v380 pro for Windows and enjoy all of the benefits it’s got just for you. However, installing it on your computer may seem daunting at first.

That’s why we’ve compiled four frequently asked questions to get V380 Pro running smoothly on PC using NoxPlayer Emulator. We’ll also talk about the app’s connection and remote viewing issues. So let’s explore how this guide can help you learn the app further.

Why Is V380 Pro a Much Better Version?

install

V380 Pro is a significant improvement from its predecessor, V380. It offers better features and functionalities that make it stand out in the market of security camera applications. One of the most notable enhancements is its compatibility with Windows PC, which provides users with a more convenient viewing experience.

Another great feature of V380 Pro is its ability to simultaneously support multiple devices and cameras. That said, you can easily monitor your entire property using just one app on your computer or mobile device. Moreover, V380 Pro boasts an updated user interface that’s easy to navigate and use. The app has also improved its connection stability, ensuring smooth streaming without freezing or buffering issues.

What to Do If the Connection Failed?

Okay, that’s a great version you want to download and install. But what if the connection failed or the reset failed? Being the case, there are several culprits. Here we highlight some troubleshooting tips to get your V380 Pro app up and running.

Firstly, make sure that both devices – your PC and camera – are properly connected to the internet. Check if they have stable Wi-Fi or wired connectivity. You can also try restarting both devices, including your router or modem. This will refresh their system connections and clear any glitches that might have caused the connection failure.

Also, check if you inputted the correct login credentials to access the camera remotely via V380 Pro on your PC. Double-checking everything is always better than assuming it’s all set up correctly. Ensure you’re using an updated version of NoxPlayer emulator software since outdated versions may cause compatibility issues with newer apps like V380 Pro.

How Far Can I Use the App (Remote Viewing Issue)?

emulatorOne common question about the V380 Pro app is how far you can use it for remote viewing. The answer is based on various factors. These include your internet connection speed, the strength of your Wi-Fi signal, and your device type. If you’ve got such a fast and stable internet connection, you can view your cameras from almost anywhere in the world. However, if your connection is slow or unstable, you may experience lagging or buffering issues when trying to access your cameras remotely.

Keep in mind that different devices have varying capabilities when it comes to remote viewing. While some smartphones might work perfectly fine for accessing live feeds remotely, others with smaller screens might struggle to provide real-time footage clarity.

How to Install V380 Pro on PC Using NoxPlayer Emulator?

Installing V380 Pro on your PC using NoxPlayer Emulator is a quick and easy process. Here’s how to install the app: First, download the NoxPlayer Emulator on your PC. Once it’s downloaded, open the emulator and sign in with your Google account. Next, download the V380 Pro APK file from a trusted source online. You can simply search for “V380 Pro APK” on Google.

After downloading the app, drag and drop it onto the NoxPlayer home screen or click on the “Install Apk” placed around the bottom right corner of the NoxPlayer window to browse and select the downloaded apk file. Within no time, an App icon will be added to the main interface after successful installation …

bluetooth

What You Need to Know About Bluetooth Speakers

In this age of technology, various gadgets have come to be on-demand, such as Bluetooth speakers. Many people appreciate portable electronics, like laptops and smartphones

Reasons to Consider Using a Bluetooth Speaker:

Convenience

Bluetooth speaker
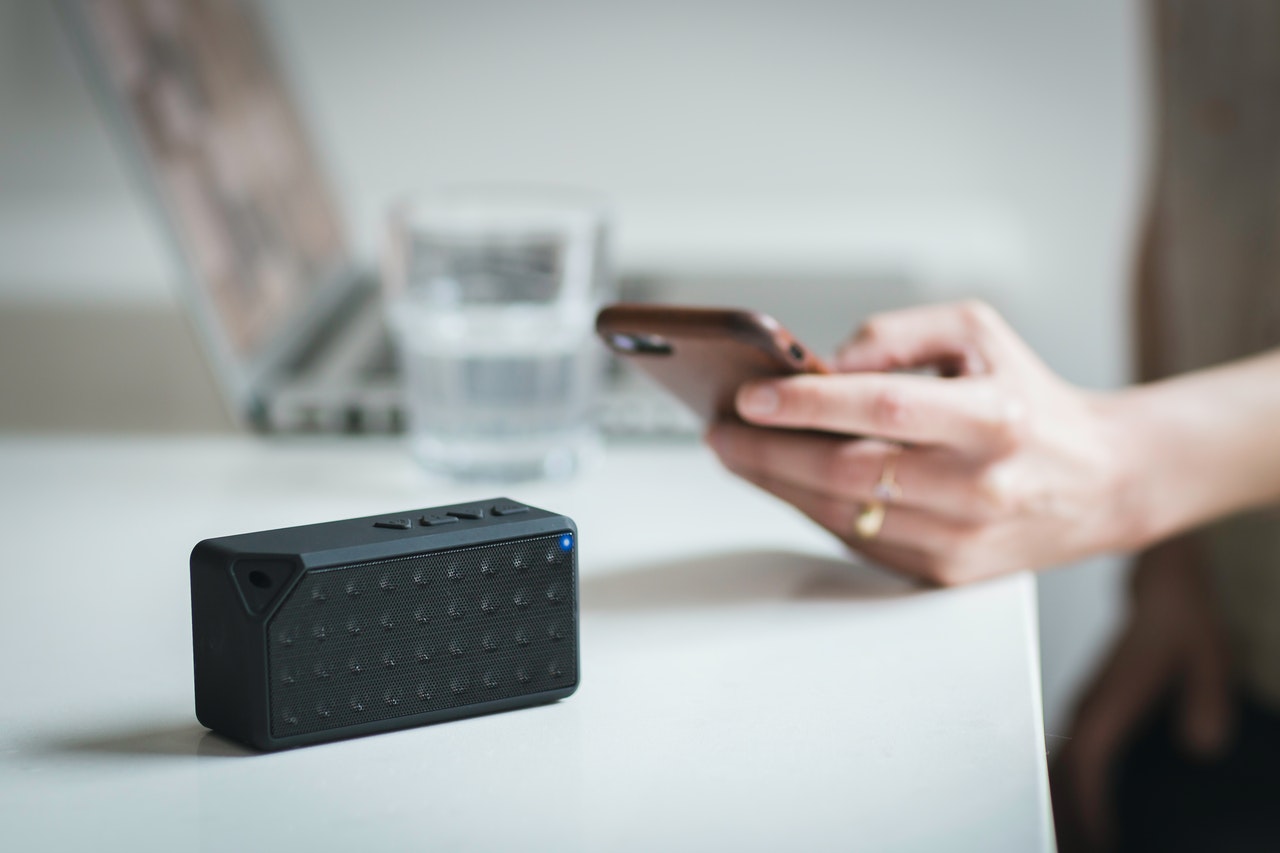
Using this type of speaker has numerous benefits when it comes to various aspects. They connect and sync wirelessly to music players, mobile devices, tablets, and other devices with Bluetooth. The majority of these speakers are built for portability, making them come in handy when going for picnics or outing in remote areas with no sound system.

Also, these speakers are reasonably inexpensive, depending on the brand and functionality. Comparing with other sound systems, Bluetooth speakers are relatively affordable. You are guaranteed to get a device with the exceptional sound quality for less than you’d spend on the traditional large sound system.

Unique Features

Unlike traditional speakers, the latest Bluetooth speakers are water, dirt, and dust resistant. These additional features are what makes people consider getting Bluetooth speakers and ignore headphones and earphones. You also get to have an excellent listening experience without having compromising your ears.

Easy to Use

The speaker is easy to use and doesn’t require many configurations. Once the speaker links with your audio player, all you have to do is relax and enjoy the experience.

Things to Consider When Buying a Bluetooth Speaker:

Budget

As much as these devices are inexpensive, your budget will determine the capabilities of the speaker you want to buy. Avoid going for very cheap options if you want the best listening experience.

Features

As mentioned above, this gadget is designed for various conditions and functions, with the main one being sound projection. If you love going on adventures, consider getting a Bluetooth speaker with dust- and water-resistant features.
bluetooth speaker

Store

Ensure that you shop from a reputable store, whether it’s an online or physical outlet. Examine the available models and types before making a decision. If you are not sure which one to choose, please go through various reviews on some of the bestselling brands. With this information getting a worthy Bluetooth speaker should be less challenging.…